Preface
Setting up argo can be a pain at times. It is my hope that I can make it a little simpler for the masses. For this particular example I am going to assume you’re using minikube, or know how to setup your kubernetes instance. As there are a lot of variables minikube allows me to remove a lot of them when explaining the concepts here.
Setting up minikube
Let’s start up minikube with 2 cpus, 4000GB memory, and a 40gb Disk (thin-provisioned).
$ minikube start --cpus=2 --memory=4096 --disk-sizer=40g
If you already have an existing minikube instance it’s recommended you run minikube delete prior to continuing and then running the above.
Installing argo and creating the namespace
You can choose one of three common installations:
- cluster install Execute workflows in any namespace?
- namespace install Only execute workflows in the same namespace we install in (typically
argo) - This is what we’ll be using. - managed namespace install: Only execute workflows in a specific namespace (learn more).
Choose a manifests from the list.
We’ll be using argo v2.9.3 and argo for the namespace. You can get the latest version from the releases page. Your mileage may vary using a different version.
# Create a new namespace named argo
kubectl create namespace argo

# Install argo v2.9.3 to new namespace
kubectl apply -n argo -f https://raw.githubusercontent.com/argoproj/argo/v2.9.3/manifests/install.yaml
Setting up service account permissions
Next, we need to give our service account argo admin rights to create other workflows in the namespace argo. We can do this like so:
# Create role bindings to give argo admin
kubectl create rolebinding default-admin --clusterrole=admin --serviceaccount=argo:default --namespace=argo
Setting up our storage (helm and minio)
Now we will probably generate some files we’ll want to persist once the workflow is done. We need to store the files somewhere to do this. Local storage is achieved by using minio (which uses S3 apis), but AWS S3, GCP, and perhaps others are available.
MinIO is a High Performance Object Storage released under Apache License v2.0. It is API compatible with Amazon S3 cloud storage service. Use MinIO to build high performance infrastructure for machine learning, analytics and application data workloads.
For this we will need to install helm.
Helm
What is helm? “Helm is the best way to find, share, and use software built for Kubernetes.”
Helm can be installed by following the guide here, or if you’re adventurous you can run the script below.
$ curl -fsSL -o get_helm.sh https://raw.githubusercontent.com/helm/helm/master/scripts/get-helm-3
$ chmod 700 get_helm.sh
$ ./get_helm.sh
Yes, you can curl https://raw.githubusercontent.com/helm/helm/master/scripts/get-helm-3 | bash if you want to live on the edge.
Now run the below script
# Add the official Helm stable charts
$ helm repo add stable https://kubernetes-charts.storage.googleapis.com/

# Update helms package list
$ helm repo update

# Install minio, in namespace argo, with the name argo-artifacts and a service.type of LoadBalancer
$ helm install --namespace=argo argo-artifacts stable/minio --set service.type=LoadBalancer --set fullnameOverride=argo-artifacts
Now we need to create the secret in kubernetes to serve as our authentication for minio. These are the default values. Feel free to create your own.
Create a file named secrets.minio.yaml and paste the following as it’s contents
apiVersion: v1
kind: Secret
metadata:
  name: my-minio-cred
type: Opaque
data:
  accessKey: QUtJQUlPU0ZPRE5ON0VYQU1QTEU= # AKIAIOSFODNN7EXAMPLE
  secretKey: d0phbHJYVXRuRkVNSS9LN01ERU5HL2JQeFJmaUNZRVhBTVBMRUtFWQ== #wJalrXUtnFEMI/K7MDENG/bPxRfiCYEXAMPLEKEY
Now we must add the secret to kubernetes
# Apply the minio secrets to k8s
$ kubectl apply -f ./secrets.minio.yaml -n argo
This portion until the divider is only for when using minikube - This is necessary because minikube doesn’t expose a public IP address ever.
Create a file named minio-default.yaml and give it the following contents
data:
  artifactRepository: |
    s3:
      bucket: my-bucket
      #keyFormat: prefix/in/bucket     #optional
      endpoint: {{MINIO}}        #AWS => s3.amazonaws.com; GCS => storage.googleapis.com
      insecure: true                  #omit for S3/GCS. Needed when minio runs without TLS
      accessKeySecret:                #omit if accessing via AWS IAM
        name: my-minio-cred
        key: accessKey
      secretKeySecret:                #omit if accessing via AWS IAM
        name: my-minio-cred
        key: secretKey
      useSDKCreds: false               #tells argo to use AWS SDK's default provider chain, enable for things like IRSA support
Now we want to replace {{MINIO}} with some bash magic and apply the minio configuration to our instance.
# Apply the default artifact repository to argo

# Get the service url
$ minikubeUrl=$(minikube service -n argo argo-artifacts --url)

# replace the http://
$ minikubeUrl=$(echo $minikubeUrl | sed 's/http:\/\///g' -)

# Replace with actual minio url and make a new file ./minio-modified.yaml
$ sed "s/{{MINIO}}/${minikubeUrl}/g" ./minio-default.yaml > ./minio-modified.yaml

# Apply to k8s in the argo namespace
$ kubectl -n argo patch configmap/workflow-controller-configmap --patch "$(cat ./minio-modified.yaml)"

# Remove modified yaml
$ rm -f ./argo/minio-modified.yaml
Now we need to expore our minio web ui
# Forward argo-artifacts (minio) port 9000 to our 9000 in namespace argo
kubectl port-forward service/argo-artifacts -n argo 9000:9000
Open up 127.0.0.1:9000 and login with your credentials:
# Access Key
AKIAIOSFODNN7EXAMPLE

# Secret Key
wJalrXUtnFEMI/K7MDENG/bPxRfiCYEXAMPLEKEY
Create a bucket named my-bucket
Now you’re ready to start creating workflows.
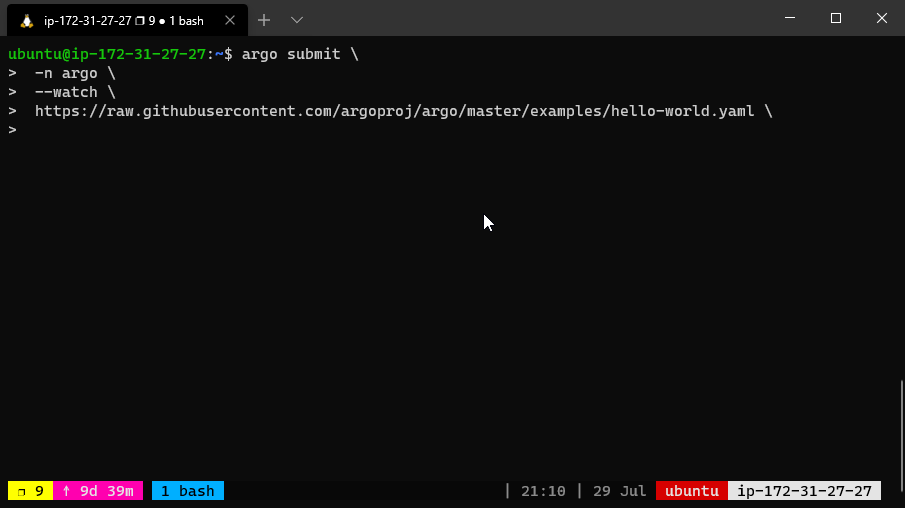
You can run the hello-world example like so
# Submit the wortflow
$ argo submit -n argo --watch https://raw.githubusercontent.com/argoproj/argo/master/examples/hello-world.yaml

# List the workflows that have been submitted
$ argo list -n argo

# Get the latest workflow
$ argo get -n argo @latest

# Get the latest workflow logs
$ argo logs -n argo @latest
Setting Up Argo Server and Kubernetes Dashboard
Now we need to setup our server so we can see the workflow via the UI.
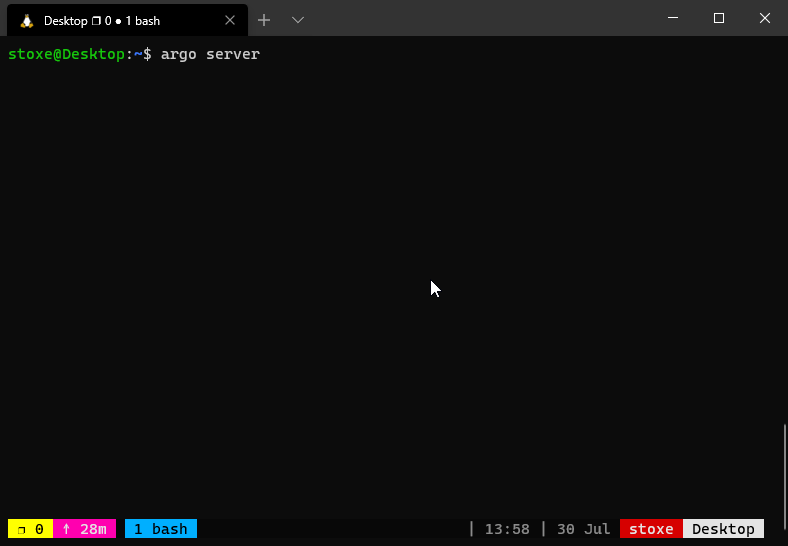
Let’s start argo’ server by running the super complex, long, hard to remember command
$ kubectl -n argo port-forward deployment/argo-server 2746:2746
Now launch http://localhost:2746
Next Steps
- Templating - Check Out The Next Part - Templating With Argo
- Argo Server - Learn More - Argo Server